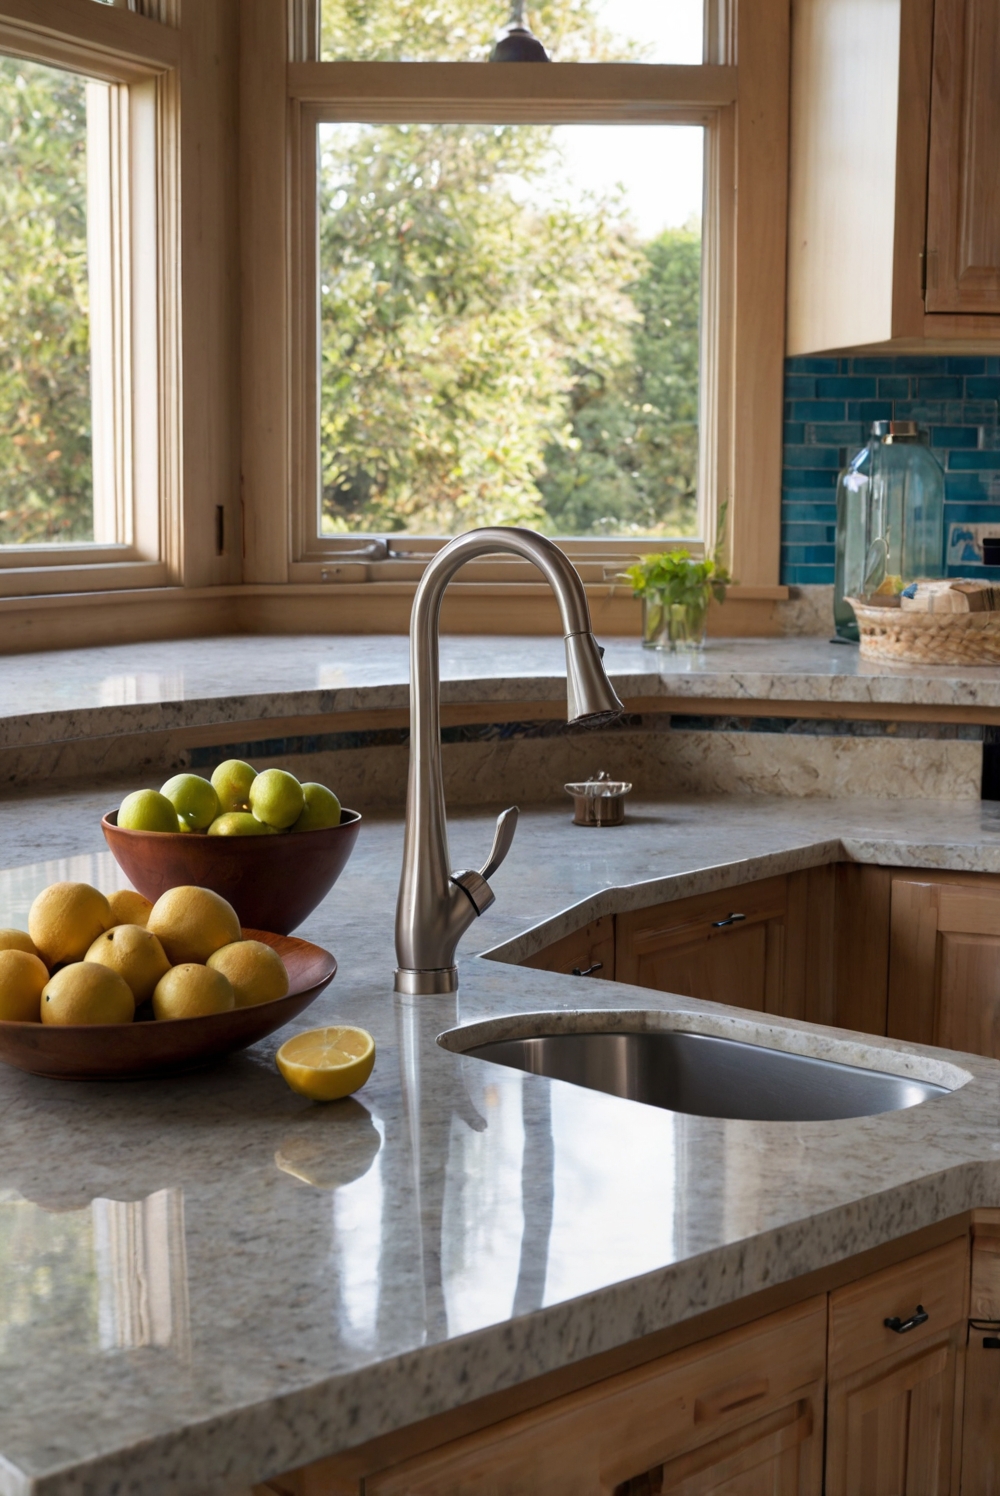
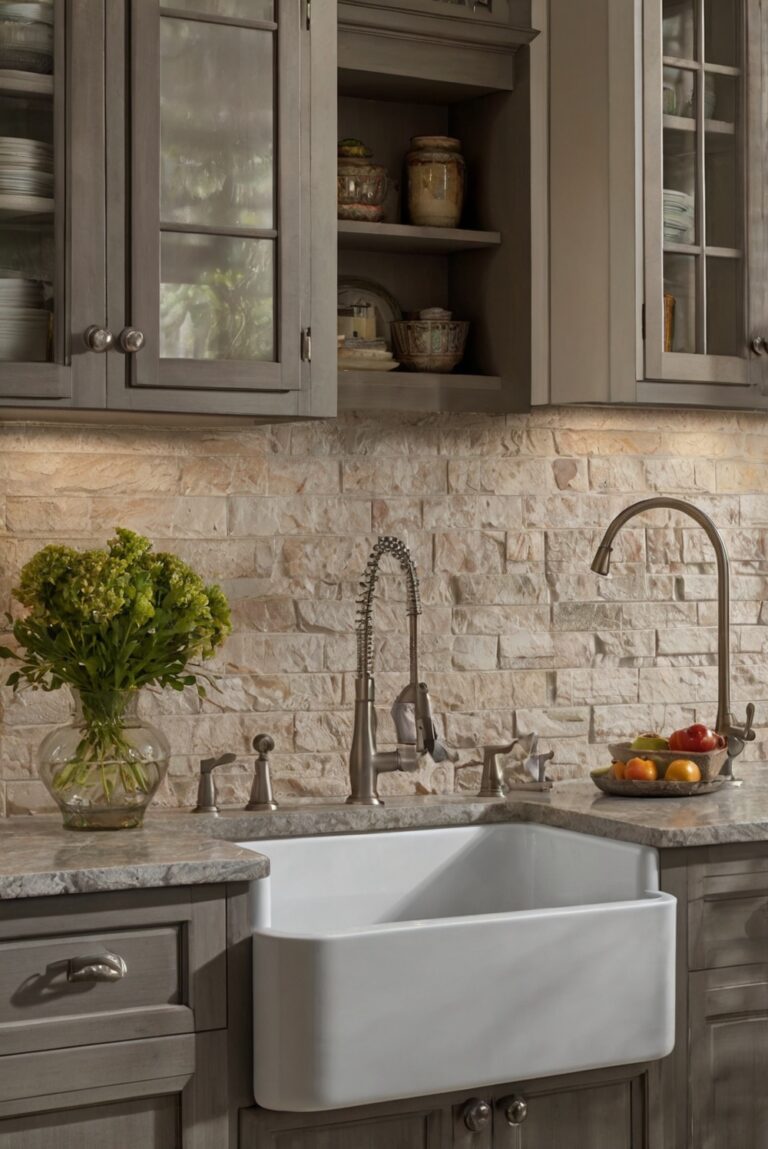
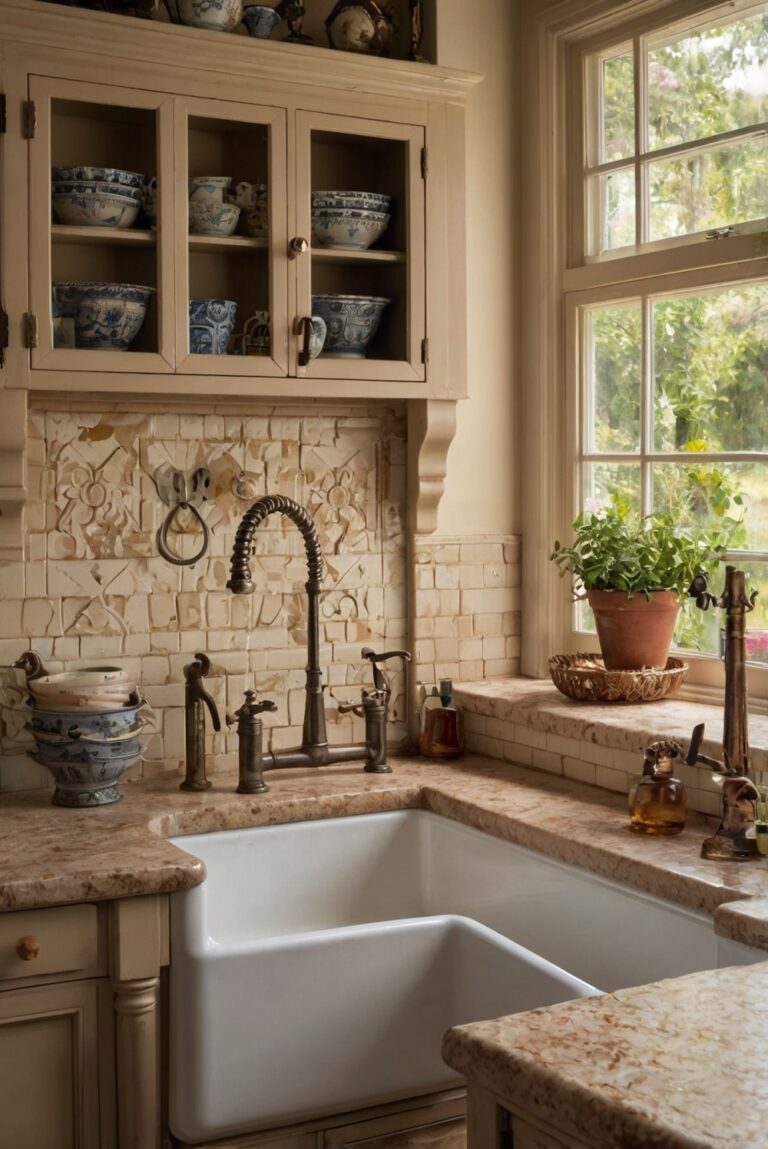
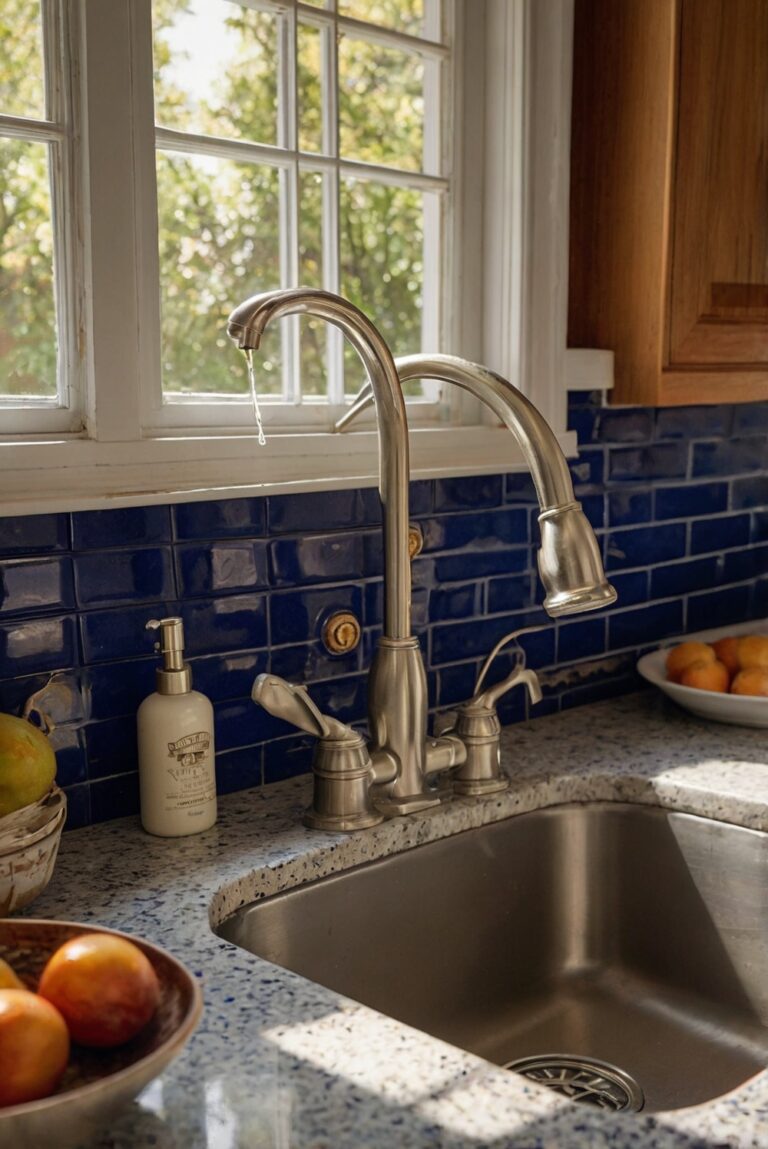
Learn the step-by-step process of installing a corner sink in your kitchen to optimize space and enhance the functionality of your interior design.
How to Install a Corner Sink in Your Kitchen?
To install a corner sink in your kitchen, start by measuring the space in the corner where you want to place the sink. Make sure there is enough room for the sink and necessary plumbing. Next, cut a hole in the countertop for the sink to fit in and install the sink according to the manufacturer’s instructions.
Consider the benefits of a corner sink, such as maximizing space in a small kitchen and creating a unique design element. However, be mindful of the potential risks, such as water leaking into the corners and difficulty accessing the sink from multiple angles. It’s important to ensure proper sealing and plumbing to prevent any issues.
When planning your kitchen layout, take into account the location of the sink for efficient workflow. A corner sink can be a convenient option for washing dishes while allowing more counter space for food prep. Make sure to coordinate the design and color of the sink with the rest of your kitchen decor for a cohesive look.
Overall, installing a corner sink can be a functional and stylish addition to your kitchen space, providing both practicality and aesthetic appeal.
The process involves careful planning and precise installation to create a seamless and visually appealing design.
Planning and Preparation:
To install a corner sink in your kitchen, the first step is to carefully plan and prepare for the installation process. Measure the available space in your kitchen to ensure the corner sink will fit properly. Consider the plumbing and electrical requirements for the sink installation. Choose a corner sink that complements your kitchen’s design and layout.
Selecting the Right Sink:
When selecting a corner sink for your kitchen, consider the size, style, and material of the sink. Stainless steel sinks are durable and easy to clean, while porcelain sinks add a touch of elegance to your kitchen. Ensure that the sink you choose fits the dimensions of the corner space and aligns with your overall kitchen design.
Gathering the Necessary Tools and Materials:
Before starting the installation process, gather all the necessary tools and materials. You will need a wrench, screwdriver, plumber’s putty, silicone sealant, pipe fittings, and a tape measure. Make sure you have all the required supplies to complete the installation successfully.
Installing the Corner Sink:
Once you have planned, selected the right sink, and gathered the tools and materials, you can begin the installation process. Follow these steps to install a corner sink in your kitchen:
Step 1: Prepare the Area
Clear out the cabinet under the sink and disconnect the plumbing connections. Remove the old sink if necessary and clean the area to prepare for the new sink installation.
Step 2: Install the Sink
Place the corner sink in the designated area and mark the positions for the faucet and drain holes. Use a drill to create the necessary holes for the faucet and drain fittings. Secure the sink in place using clips or brackets.
Step 3: Connect the Plumbing
Connect the water supply lines to the faucet and the drain pipe to the sink’s drain opening. Use plumber’s putty or silicone sealant to create a watertight seal around the connections. Ensure that all connections are secure and leak-free.
Step 4: Test the Sink
Turn on the water supply and check for any leaks or drips. Run water through the faucet and check the drain function to ensure everything is working correctly. Make any necessary adjustments to the plumbing connections.
Step 5: Finishing Touches
Once the sink is installed and functioning properly, make any finishing touches to the surrounding area. Install a backsplash or countertop if needed to complete the look of your new corner sink.
In conclusion, installing a corner sink in your kitchen can add functionality and style to your space. By following these steps and guidelines, you can successfully install a corner sink in your kitchen. Remember to plan carefully, select the right sink, gather the necessary tools and materials, and follow the installation steps to ensure a smooth and successful installation process. Enjoy your new corner sink and the added convenience it brings to your kitchen!
1. Can I Install a Corner Sink in My Kitchen?
Yes, you can install a corner sink in your kitchen. It can be a great space-saving solution, especially in smaller kitchens where maximizing counter space is essential. Corner sinks are also visually appealing and can add a unique touch to your kitchen design. To install a corner sink, you will need to consider the plumbing and layout of your kitchen. Make sure you have enough space for the sink and that it is easily accessible for washing dishes and food preparation.
2. What are the Benefits of Installing a Corner Sink in Your Kitchen?
Installing a corner sink in your kitchen offers several benefits. It can help optimize the use of space in your kitchen, especially in small or awkwardly shaped kitchens. Corner sinks can also create a more efficient work triangle between the sink, stove, and refrigerator, making meal preparation easier. Additionally, corner sinks can add a stylish and modern touch to your kitchen, enhancing its overall aesthetic appeal. When installing a corner sink, consider factors such as accessibility, plumbing requirements, and the overall layout of your kitchen.
3. What Steps are Involved in Installing a Corner Sink?
Installing a corner sink in your kitchen involves several steps. First, you will need to measure the available space in the corner where you plan to install the sink. Next, you will need to choose a sink that fits the dimensions of the space and complements your kitchen design. Once you have selected a sink, you will need to install the plumbing, including connecting the sink to the water supply and drainage system. Finally, you will need to secure the sink in place and ensure it is properly sealed to prevent leaks.
4. Are There Different Types of Corner Sinks Available?
Yes, there are several types of corner sinks available for kitchens. The most common types include drop-in corner sinks, undermount corner sinks, and farmhouse corner sinks. Drop-in corner sinks are easy to install and are placed on top of the countertop. Undermount corner sinks are mounted beneath the countertop for a sleek and seamless look. Farmhouse corner sinks have a front-facing apron and are a popular choice for traditional and rustic kitchen designs. When choosing a corner sink for your kitchen, consider factors such as size, style, and material to find the best option for your space.
5. What Should I Consider Before Installing a Corner Sink in My Kitchen?
Before installing a corner sink in your kitchen, there are several factors to consider. First, think about the layout of your kitchen and how a corner sink will fit into the space. Consider the location of existing plumbing and whether any modifications will be needed to accommodate the new sink. Additionally, think about how the corner sink will impact your workflow in the kitchen and whether it will be easily accessible for daily tasks. Finally, choose a sink that complements your kitchen design and meets your functional needs.

