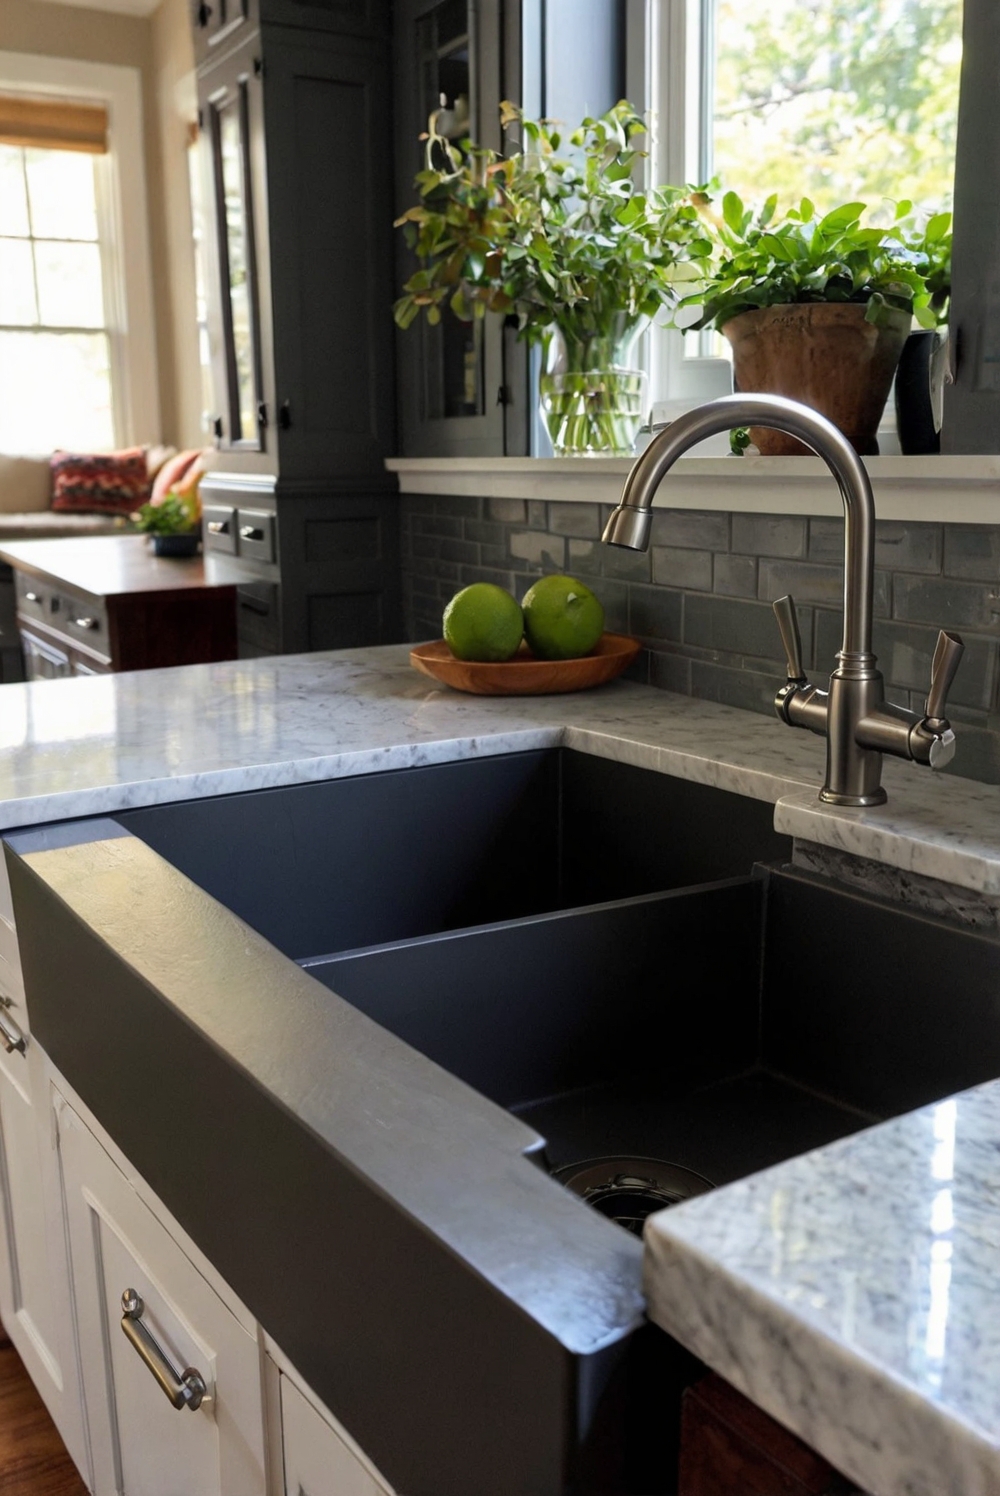
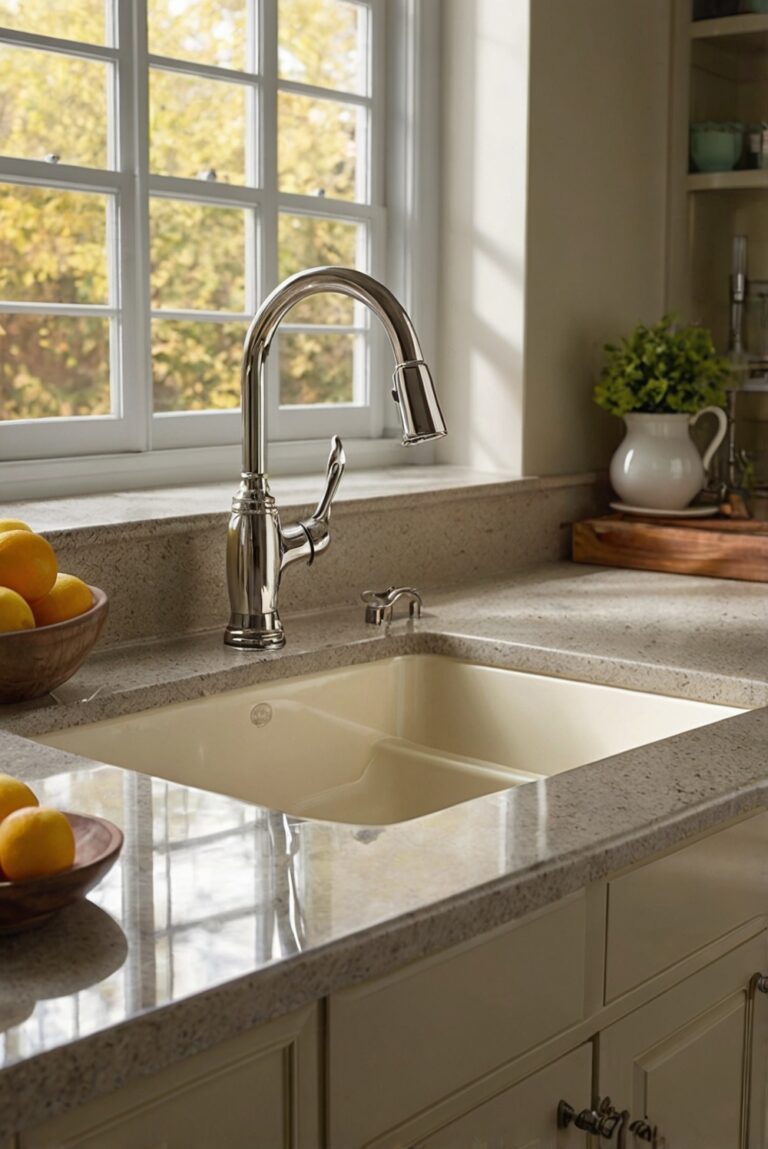
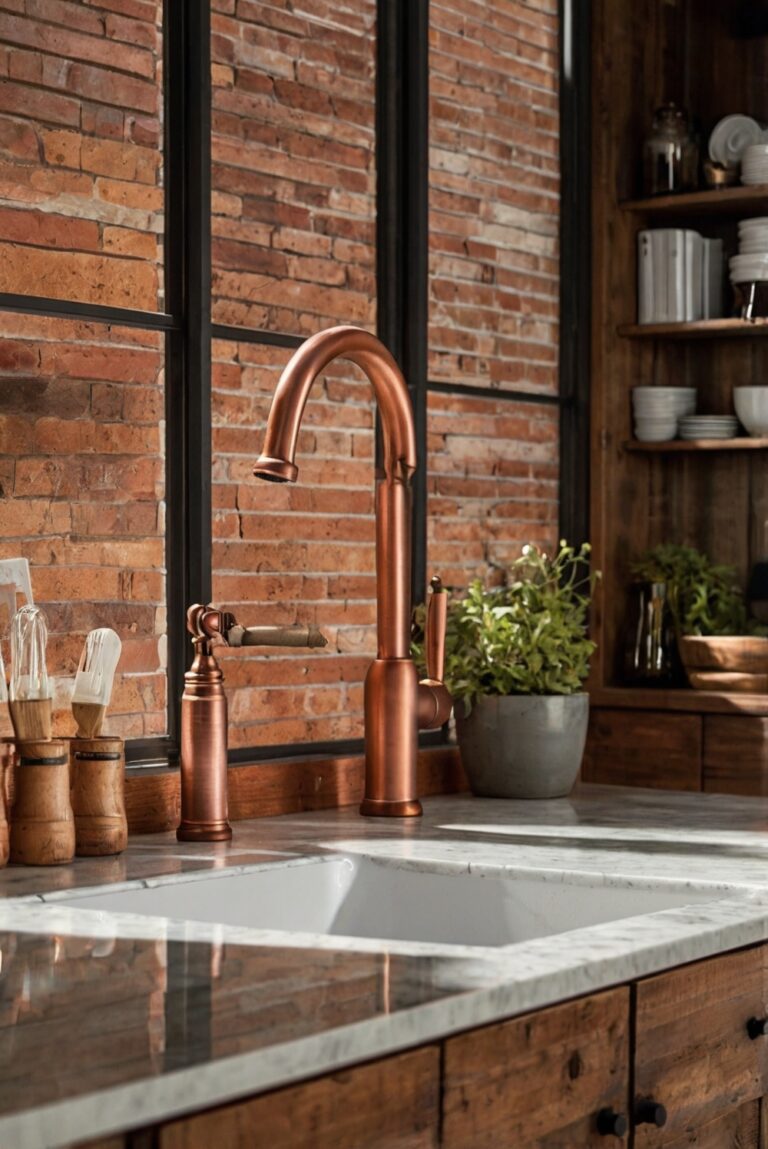
Looking to elevate your kitchen with a stylish apron front sink? Follow this detailed guide on installing one seamlessly in your space.
To install an apron front sink in your kitchen, start by measuring the space where the sink will go to ensure a proper fit. Next, remove the old sink and disconnect the plumbing. Make any necessary adjustments to the cabinet to accommodate the new sink. Install the sink according to the manufacturer’s instructions, ensuring it is level and secure.
When installing an apron front sink, consider the benefits such as its aesthetic appeal and functionality. The deep basin allows for easy washing of large pots and pans. To prevent any risks, make sure the sink is properly sealed to avoid leaks.
Organize your tools and materials beforehand to streamline the installation process. Consider the layout of your kitchen and how the new sink will enhance the overall look. A well-designed kitchen with carefully selected interior finishes can greatly enhance the aesthetics of your home.
To install an apron front sink in your kitchen, follow these steps:
1. Measure the Space:
Before purchasing the sink, measure the cabinet space where the sink will be installed. Make sure the sink fits properly and there is enough room for the apron front to protrude.
2. Choose the Right Sink:
Select an apron front sink that complements your kitchen design and fits the measurements you took. Consider the material of the sink, such as stainless steel, fireclay, or cast iron, based on your preferences and needs.
3. Prepare the Cabinet:
To install the sink, you may need to modify the existing cabinet. Cut out the front panel to accommodate the apron front of the sink. Ensure the cabinet can support the weight of the sink.
4. Install the Sink:
Following the manufacturer’s instructions, install the apron front sink in the prepared cabinet. Use the appropriate mounting hardware and secure the sink in place. Make sure the sink is level and properly sealed.
5. Connect the Plumbing:
Once the sink is installed, connect the plumbing fixtures. Install the faucet, drain, and any other accessories according to the manufacturer’s guidelines. Test the plumbing to ensure there are no leaks.
In conclusion, installing an apron front sink in your kitchen can enhance the overall look and functionality of the space. By carefully measuring, choosing the right sink, preparing the cabinet, and following the installation steps, you can successfully complete this project. Remember to pay attention to details and seek professional help if needed. Enjoy your new apron front sink in your kitchen!
1. **What tools and materials do I need to install an apron front sink in my kitchen?**
To install an apron front sink in your kitchen, you will need a few essential tools and materials. These include a tape measure, a pencil, a level, a screwdriver, a drill, a wrench, plumber’s putty, silicone caulk, and safety glasses. You will also need the sink itself, mounting brackets, and any additional hardware that may come with the sink. It is essential to have all these tools and materials ready before starting the installation process to ensure a smooth and efficient installation.
2. **What are the steps to install an apron front sink in my kitchen?**
Installing an apron front sink in your kitchen involves several steps. Firstly, measure the sink opening to ensure a proper fit. Then, cut any necessary holes for the faucet and accessories. Next, install the sink by attaching mounting brackets and securing them in place. Finally, connect the plumbing and seal any gaps with silicone caulk. It is crucial to follow the manufacturer’s instructions carefully to ensure a successful installation. Additionally, consider seeking professional help if you are unsure about any step in the process.
3. **How do I ensure that my apron front sink is properly aligned and level during installation?**
To ensure that your apron front sink is properly aligned and level during installation, use a level to check the sink’s position from all angles. Adjust the sink as needed to achieve a level surface. Additionally, use mounting brackets to secure the sink in place and prevent any movement once installed. It is essential to take your time during this step to ensure a professional-looking finish and avoid any potential issues with the sink’s alignment in the future.
4. **What are some common mistakes to avoid when installing an apron front sink in my kitchen?**
When installing an apron front sink in your kitchen, it is essential to avoid common mistakes that can lead to issues down the line. Some common mistakes to avoid include not properly measuring the sink opening, rushing the installation process, using incorrect tools or materials, and not following the manufacturer’s instructions. Additionally, failing to secure the sink properly or not sealing gaps with silicone caulk can lead to leaks and other problems. Taking your time, double-checking measurements, and following the correct procedures are key to a successful installation.
5. **How can I maintain and care for my apron front sink after installation?**
After installing an apron front sink in your kitchen, it is essential to maintain and care for it properly to ensure its longevity and performance. To maintain your sink, regularly clean it with a mild soap and water solution, avoiding abrasive cleaners that can damage the surface. Additionally, consider using a stainless steel cleaner to restore the sink’s shine. To prevent scratches, use a protective grid or mat at the bottom of the sink when washing dishes. Finally, check for any leaks or issues with the plumbing regularly to address them promptly and prevent further damage.

