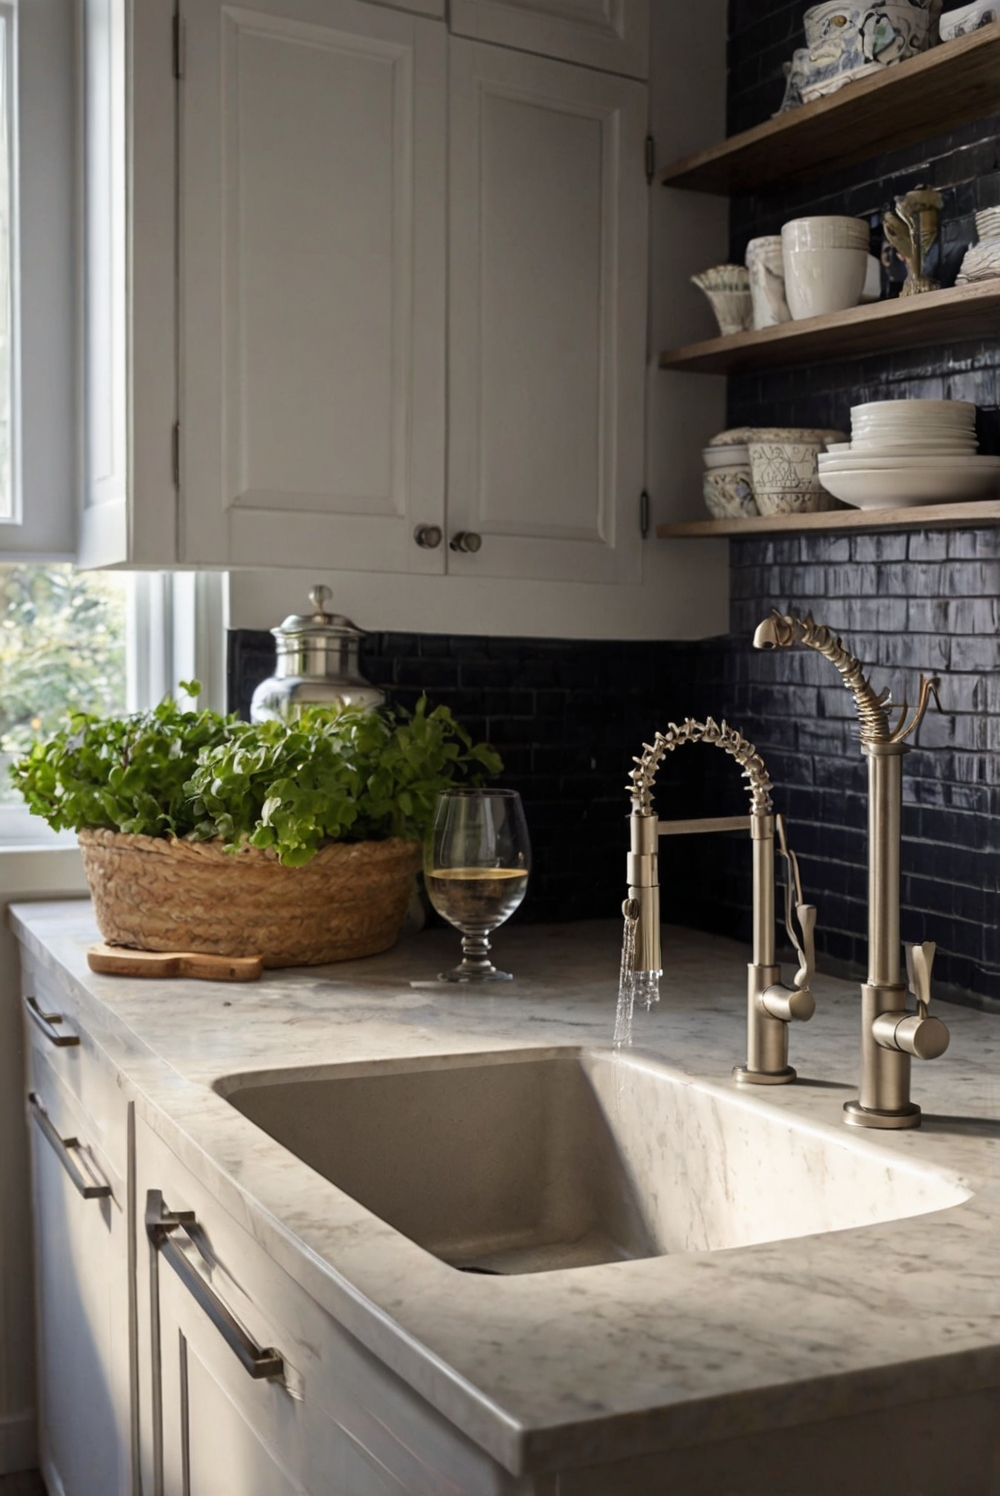
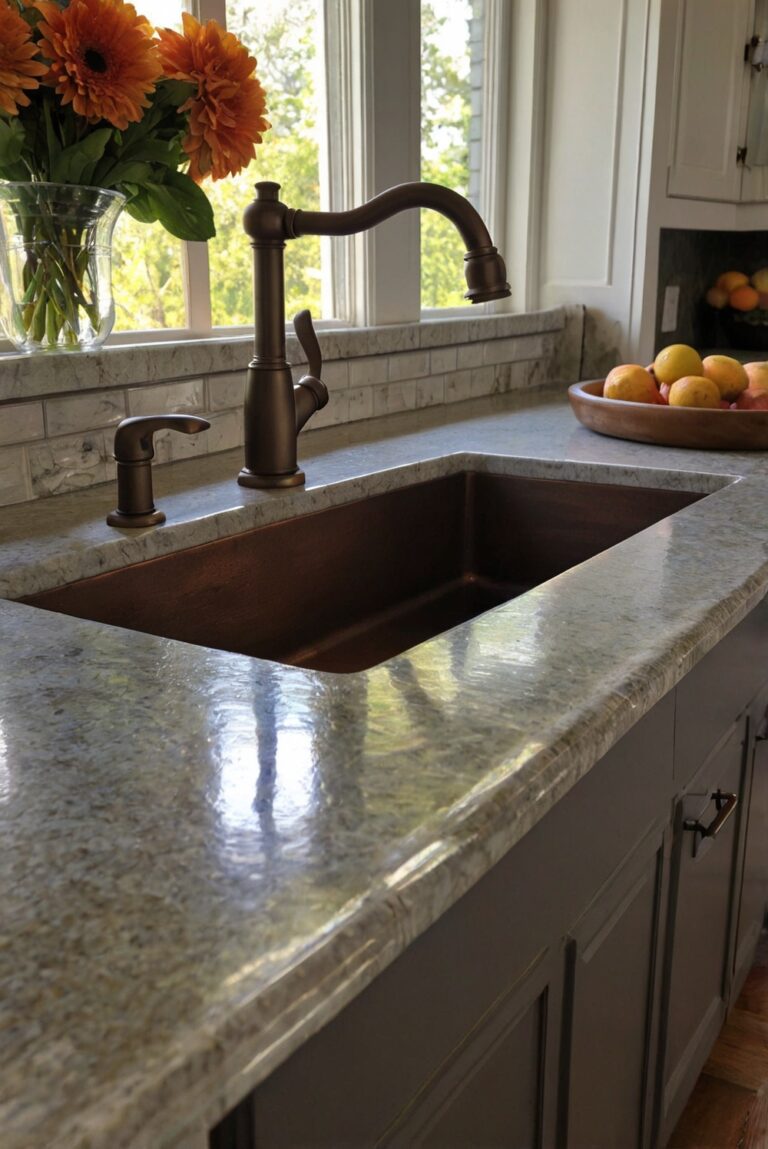
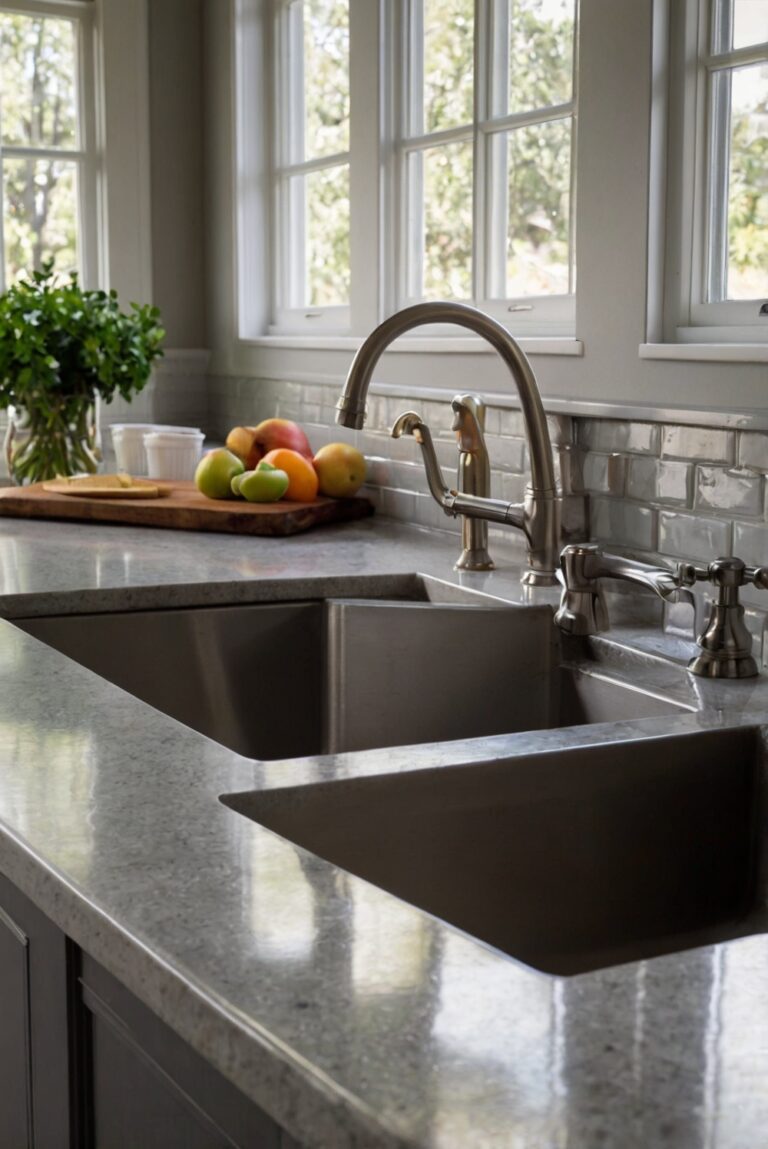
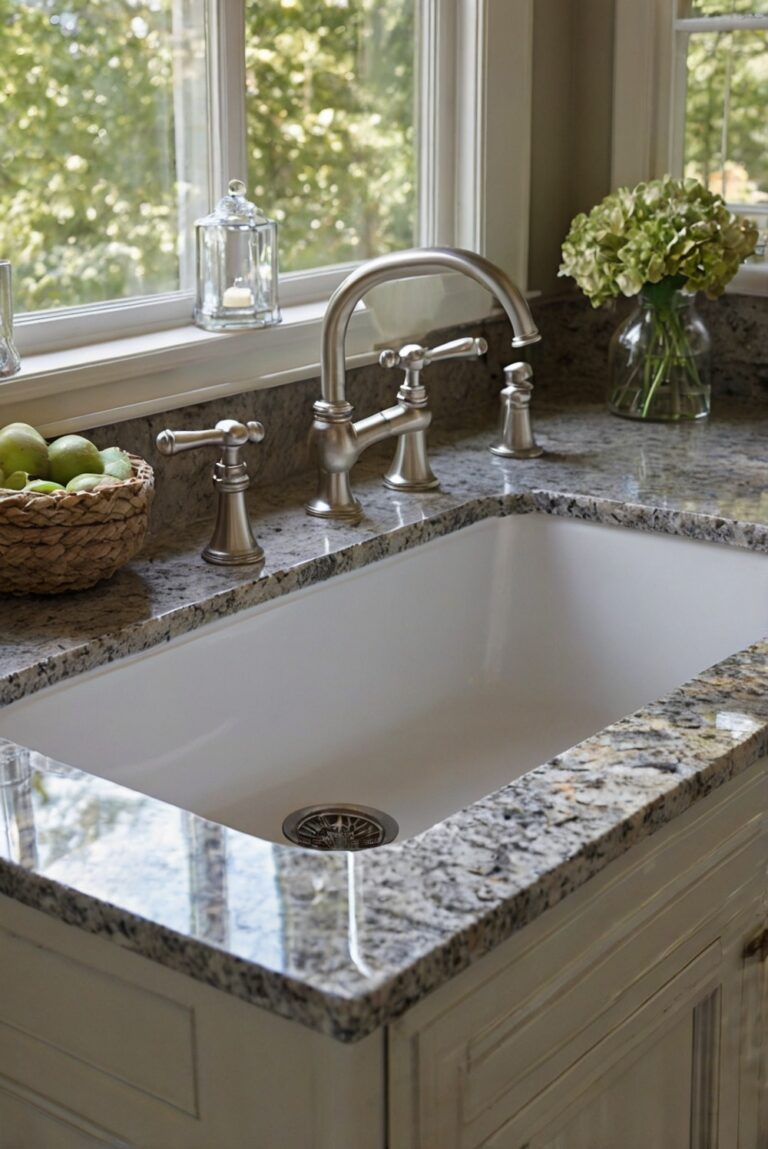
Discover the seamless beauty of a sink with integrated drainboard in your kitchen. Follow this step-by-step guide for easy installation and a stylish twist to your daily interior designer routine.
How to Install a Sink with Integrated Drainboard in Your Kitchen?
To install a sink with an integrated drainboard in your kitchen, follow these steps as part of your home decorating routine. Start by measuring the space where the sink will go and choose a sink that fits those dimensions. Next, remove the old sink and clean the area thoroughly. Make sure the plumbing lines up with the new sink and install it securely. Consider the benefits of having a drainboard attached to the sink, such as better water drainage and less countertop clutter. Utilize interior design space planning to ensure the sink fits well with the overall layout of your kitchen. Lastly, seal the sink properly to prevent leaks and keep your kitchen looking stylish.
Ensure to match the color of the sink with the existing kitchen decor to create a cohesive look. If needed, prime the walls before installing the sink to ensure proper paint color match. This will help maintain the overall aesthetic of your kitchen. By following these steps and considering the design aspects of your kitchen, you can successfully integrate a sink with a drainboard into your space.
To install a sink with an integrated drainboard in your kitchen, you will need to follow these steps:
**1. Measure and Prepare**
Before purchasing a sink with an integrated drainboard, measure the space where you plan to install it to ensure it fits properly. Make sure the plumbing connections align with the sink’s drain outlets. Remove the old sink and clean the area thoroughly.
**2. Assemble Required Tools and Materials**
Gather all the necessary tools and materials for the installation, including a wrench, plumber’s putty, silicone caulk, screwdriver, and pipe wrench. Ensure you have all the components that come with the sink, such as mounting clips and installation instructions.
**3. Install the Sink**
Place the sink into the cutout on the countertop and secure it in place using mounting clips. Connect the drain lines and water supply lines according to the manufacturer’s instructions. Use plumber’s putty to seal the drain connections and silicone caulk to seal the sink to the countertop.
**4. Test the Installation**
Once the sink is securely installed, turn on the water supply and check for any leaks. Run water through the sink to ensure proper drainage and functionality. Make any necessary adjustments to the connections if needed.
**5. Seal and Finish**
Apply a bead of silicone caulk around the edges of the sink where it meets the countertop to create a watertight seal. Wipe off any excess caulk with a damp cloth for a clean finish. Allow the caulk to dry completely before using the sink.
When installing a sink with an integrated drainboard in your kitchen, it is essential to follow these steps carefully to ensure a successful installation. By measuring and preparing the space, assembling the necessary tools and materials, installing the sink correctly, testing the installation, and sealing and finishing the sink, you can enjoy a functional and aesthetically pleasing addition to your kitchen.
1. What tools do I need to install a sink with an integrated drainboard in my kitchen?
To install a sink with an integrated drainboard, you will need a few essential tools such as a wrench, silicone sealant, plumber’s putty, a screwdriver, and a tape measure. Additionally, you may require a hacksaw to cut pipes to the correct length, a level to ensure the sink is installed evenly, and a bucket to catch any water during the installation process. It is also recommended to have a rag or towel handy to clean up any spills or excess sealant.
2. How long does it take to install a sink with an integrated drainboard in a kitchen?
The time it takes to install a sink with an integrated drainboard in your kitchen can vary depending on your level of experience and the complexity of the installation. On average, the installation process can take anywhere from 1 to 3 hours. If you encounter any unexpected challenges or complications during the installation, it may take longer. It is always a good idea to set aside ample time for the installation to ensure a smooth and successful process.
3. Can I install a sink with an integrated drainboard by myself, or do I need professional help?
Installing a sink with an integrated drainboard in your kitchen is a manageable task that you can do yourself if you have some basic plumbing skills and the right tools. However, if you are unsure about any part of the installation process or if you encounter any difficulties, it is advisable to seek professional help. A licensed plumber can ensure that the sink is installed correctly and safely, minimizing the risk of leaks or other issues in the future. Additionally, hiring a professional can provide you with peace of mind and save you time and effort.
4. What are the steps involved in installing a sink with an integrated drainboard in a kitchen?
The installation process of a sink with an integrated drainboard in your kitchen typically involves several steps. First, you will need to measure the space where the sink will be installed to ensure a proper fit. Next, you will need to disconnect the plumbing and remove the old sink if necessary. Then, you will prepare the area for the new sink by applying silicone sealant around the edges. Once the sink is in place, you will secure it with brackets or clips and reconnect the plumbing. Finally, you will need to test the sink for leaks and ensure that it is functioning properly before using it.
5. Are there any specific maintenance tips for keeping a sink with an integrated drainboard in good condition?
To keep your sink with an integrated drainboard in good condition, there are a few maintenance tips you can follow. Regularly clean the sink and drainboard with a mild detergent and water to prevent the buildup of dirt and grime. Avoid using abrasive cleaners or scrubbing pads that can scratch the surface of the sink. Additionally, check the sink and drainboard for any signs of leaks or damage periodically and address any issues promptly to prevent further damage. Finally, consider applying a silicone sealant around the edges of the sink annually to ensure a watertight seal and prevent leaks.

